Digital Best Jam Jars Tips for Perfect Preserving?
The art of preserving fruits in Jam Jars is gaining renewed interest. With home preserving trends on the rise, experts emphasize the importance of mastering techniques for successful results. According to a report by the Specialty Food Association, sales of preserves increased by 15% last year. People are turning to homemade options for quality and flavor.
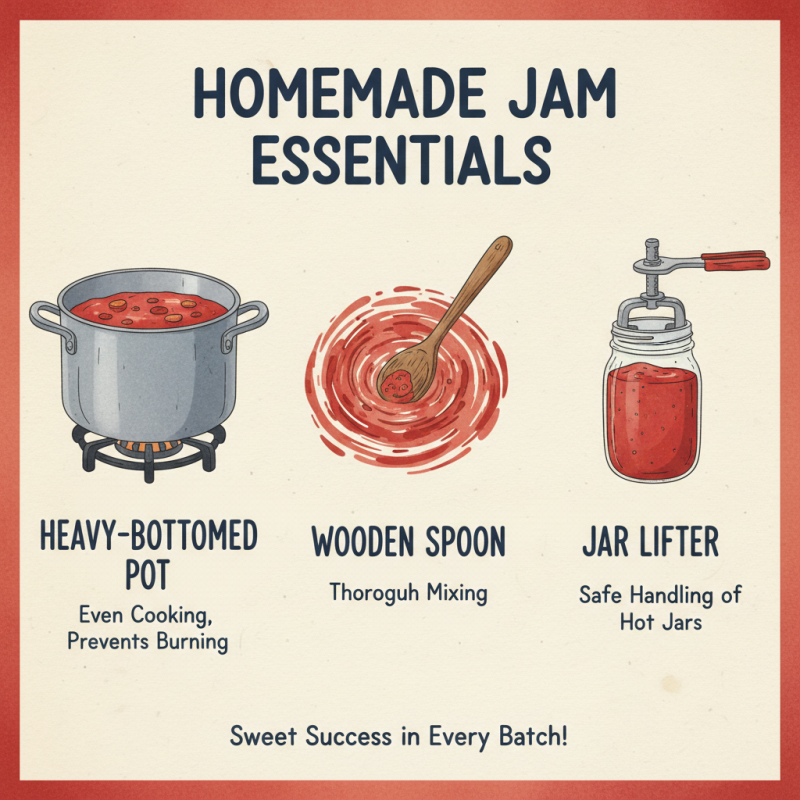
Renowned food preservation expert, Anna Rodriguez, notes, “Perfecting your method not only enhances taste but also guarantees safety.” Her insights resonate with many home canners who strive to avoid common pitfalls. For instance, improper sealing can lead to spoilage. This is a reminder that attention to detail can make or break your jam.
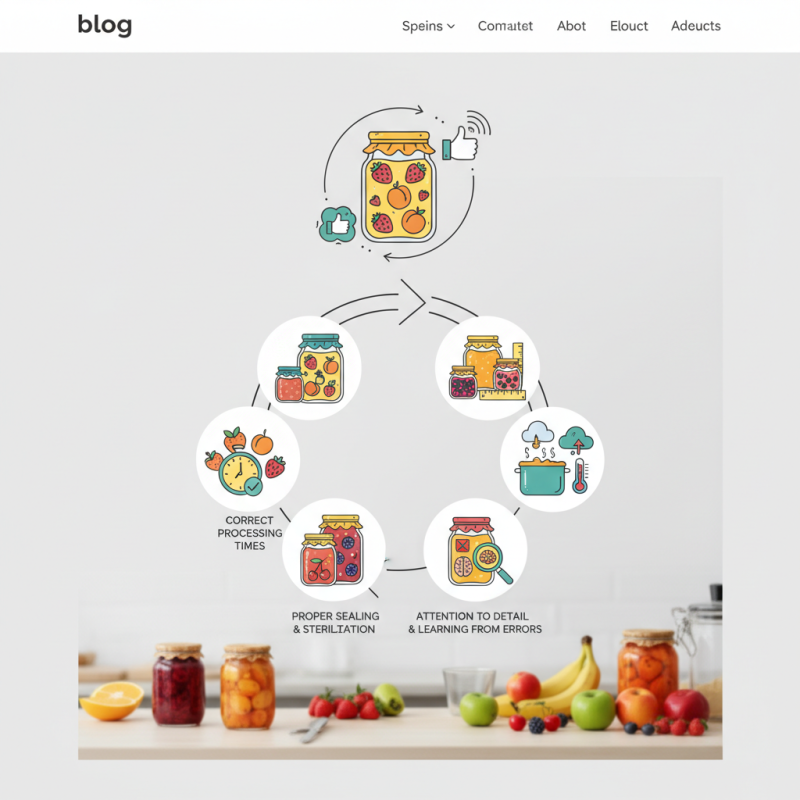
Navigating the nuances of Jam Jars may seem daunting. Small mistakes, like incorrect processing times or jar sizes, can impact results significantly. Instead of feeling overwhelmed, home preservers can learn from these moments. Overall, the journey of mastering Jam Jars involves both achievements and challenges, highlighting a rewarding process full of trial and error.
Understanding the Basics of Food Preservation Techniques and Their Importance
Food preservation techniques are vital in extending the shelf life of food. In today's world, where food waste is a growing concern, effective preservation methods are essential. According to the USDA, nearly 31% of food is wasted in the U.S. alone. This statistic highlights the urgency of mastering preservation skills at home.
Canning is one of the most prevalent techniques used. It involves sealing food in jars to protect against microorganisms. However, improper canning can lead to serious health risks, such as botulism. This emphasizes the need for education about correct practices. In fact, a survey from the National Center for Home Food Preservation revealed that only 65% of home canners follow recommended guidelines.
Fermentation is another technique gaining popularity. It not only preserves food but also enhances its nutritional value. Foods like kimchi and sauerkraut are great examples. Yet, many people hesitate to try this method due to uncertainty around the fermentation process. A report from the Academy of Nutrition and Dietetics suggests that nearly 45% of individuals feel intimidated by making fermented products at home. Understanding these key techniques can change how we view food longevity, making preserving an exciting and valuable journey in the kitchen.
Optimal Sugar Ratios: Balancing Sweetness and Preservation in Jam Recipes
When it comes to jam making, sugar is a key player. The right sugar ratio can enhance flavor and ensure proper preservation. A common guideline suggests using equal parts fruit and sugar. However, this may not always yield the desired sweetness. Some fruits, like strawberries, can be equally delicious with a little less sugar. Experimenting with different ratios can lead to unique flavor profiles.
Tips: Always taste your mixture before sealing the jars. Homemade jams can vary in sweetness. If the fruit is very sweet, consider reducing sugar. Remember, less sugar often requires modifications in cooking time. Overheating can lead to a caramelized taste. It's important to balance sweetness with acidity for flavor depth.
Keep in mind that not all fruits behave the same under heat. For example, apples may need more sugar compared to blueberries. This variance can affect texture as well. Don't rush the process. Take time to adjust sugar levels according to your personal preference. This thoughtful approach can elevate your jam-making experience, creating something uniquely yours.
The Role of pH in Jams: Ensuring Safety and Quality in Home Preservation
When making jams, the pH level is a critical factor that influences safety and quality. A balanced pH ensures that harmful bacteria cannot thrive. Most fruit jams should have a pH level between 2.8 and 3.5. This acidic environment prevents spoilage. Using ripe fruits typically yields better results as they are naturally acidic.
In practice, pH measurement can be tricky. Homemade jams may vary based on fruit ripeness and preparation methods. Sometimes jars do not seal properly, leading to inconsistent pH levels. It's important to check seals and acidity. Testing with pH strips can be simple yet effective. Not all fruits will yield the same results, so keep notes for future reference.
Don’t be disheartened if a batch doesn't come out perfectly. Each attempt brings you closer to mastering the art. Experimenting with different fruits can also change pH levels. Adjusting sugar and acidity helps in achieving the desired taste. Remember, preserving is as much about learning from mistakes as it is about creating delicious jams.
pH Levels and Jam Safety
Storage Tips for Preserved Jams: Maximizing Shelf Life and Flavor Retention
When it comes to preserving jams, storage plays a crucial role. The right environment can enhance shelf life significantly. Always choose glass jars that are clean and dry. Airtight seals are essential. If air seeps in, flavors can diminish. A simple check ensures that your jars are sealed properly.
Temperature is another vital factor. Store jam in a cool, dark place. Avoid sunlight exposure; it can lead to color loss. Avoid storing jars near the stove or heat sources. Take time to label your jars. Note the preparation date for reference. It often helps manage inventory and use by deadlines.
Sometimes, we overlook the importance of regular checks. Inspect the jars for any signs of spoilage. If you see mold, don't take chances. Discard it promptly. While the idea of saving those batches is appealing, health must come first. Reflect on your practices: Are you maximizing flavor as much as safety? Each jar tells a story of flavors preserved, but we must also be vigilant.
Digital Best Jam Jars Tips for Perfect Preserving
| Tip |
Description |
Shelf Life (Months) |
Flavor Retention |
Storage Temperature (°C) |
| Use Sterilized Jars |
Ensure jars are properly sterilized to prevent spoilage. |
12 |
High |
10-20 |
| Cool Quickly |
Cool jam jars at room temperature to avoid condensation. |
12 |
Medium |
15-25 |
| Seal Tight |
Ensure the lid is sealed tightly to maintain freshness. |
8 |
High |
10-20 |
| Store in a Dark Place |
Keep jars away from light to prevent color degradation. |
10 |
Medium |
15-20 |
| Avoid Temperature Fluctuations |
Store in a stable temperature environment to minimize spoilage. |
9 |
High |
15-25 |